Welcome back. In this article, I will guide you on how to create and manage a virtual environment in Python with the standard built-in module venv.
What is a virtual environment?
In Python development, virtual environments provide isolated workspaces. Each virtual environment encapsulates its own Python interpreter, libraries, and scripts, ensuring complete separation from other environments. This isolation prevents conflicts between project-specific dependencies and system-wide libraries, promoting project maintainability and reproducibility.
Why you should use a virtual environment in Python?
The venv module was introduced in Python 3.3 to allow users to create a lightweight virtual environment with their own site directories, optionally isolated from system site directories.
The primary goal of Python virtual environments is to provide an isolated environment for Python project/applications. This implies that each project can have its dependencies, independent of the requirements of other projects.
Creating and managing a virtual environment
From Python 3.3 to 3.4, the pyvenv command-line tool, provided by default with every Python 3 installation, was the recommended way to establish a virtual environment. However, for Python 3.6 and later, python -m venv is the preferred command.
Creating virtual environment
Before you create a virtual environment, make sure Python is installed and it’s in your PATH. If Python is not installed, refer to my article on Python installation. To see if Python is in your PATH, open the command prompt and type python.
C:\>python
Python 3.9.5 (tags/v3.9.5:0a7dcbd, May  3 2021, 17:27:52) [MSC v.1928 64 bit (AMD64)] on win32
Type "help", "copyright", "credits" or "license" for more information.
>>>
If the Python prompt does not appear as shown above, or if an error occurs due to an incorrect command, please visit my previous post 4 Ways to Install Python on Windows for more information on how to configure the Python environment.
Make a folder for your project. There are two options for accomplishing this. Go to the project folder where you want to begin working on it. By right-clicking, create a folder called Project_1. Another option is to type and enter cmd in the address bar of the browsed location. The command prompt will look like this:
D:\My Projects>Type mkdir <project name> on the command prompt to create a Project folder:
D:\My Projects>mkdir Project_1Now, browse to Project_1 folder by typing:
D:\My Projects>cd Project_1
D:\My Projects\Project_1>
Type the following command to create a virtual environment.
D:\My Projects\Project_1>python -m venv <virtual environment name>
or
D:\My Projects\Project_1>python -m venv venv1
In the directory of your project, a folder named venv1 is created, together with essential dependencies.
Tip: To create project directory and virtual environment at the same time, use the following command:
D:\My Projects\Project_1>python -m venv <project name>\<environment name>Activating virtual environment
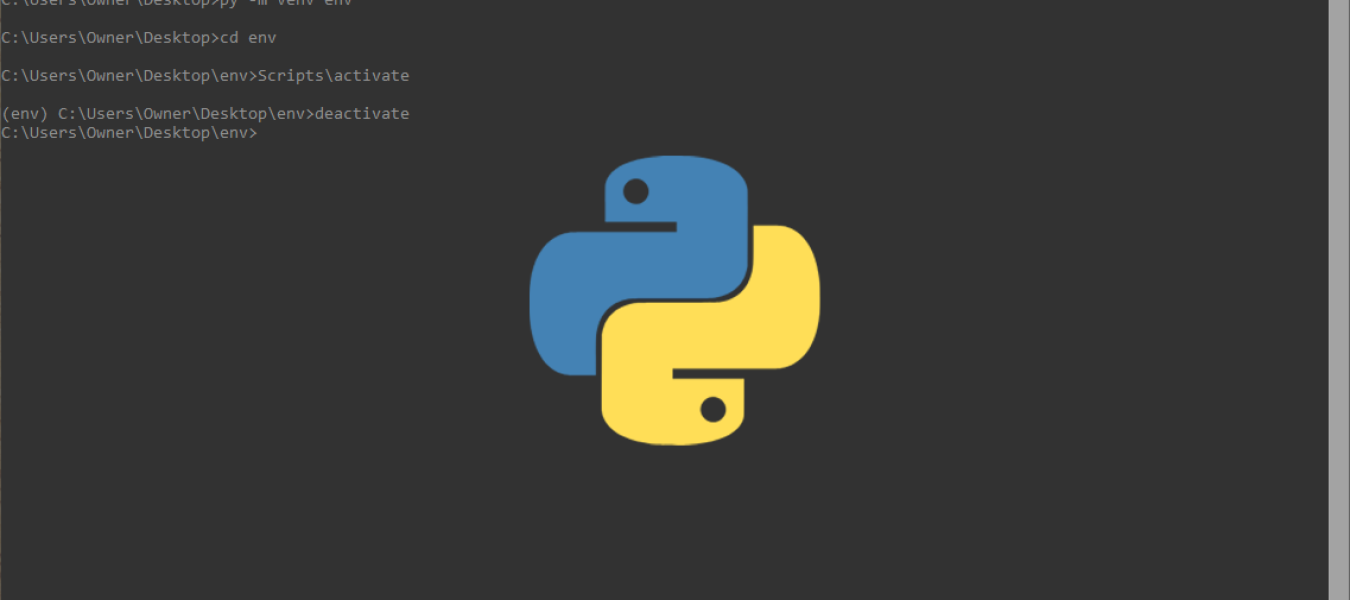
To activate a newly created virtual environment, type the following command:
D:\My Projects\Project_1>venv1\Scripts\activate.batThe prompt will update to show that the virtual environment is active, as seen below:
(venv1) D:\My Projects\Project_1>To show the installed packages in the virtual environment, type pip list on the command prompt:
(venv1) D:\My Projects\Project_1>pip list
Package    Version
---------- -------
pip        21.1.1
setuptools 56.0.0
Installation of libraries/packages in your virtual environment
Suppose you wish to create a project / script that merges excel sheets or files into a single excel file or directory. You need a Pandas library for that. Let us install it.COPY
(venv1) D:\My Projects\Project_1>pip install pandas
Collecting pandas
  Downloading pandas-1.3.5-cp39-cp39-win_amd64.whl (10.2 MB)
     |████████████████████████████████| 10.2 MB 2.2 MB/s
Collecting pytz>=2017.
  Using cached pytz-2021.3-py2.py3-none-any.whl (503 kB)
Collecting python-dateutil>=2.7.3
  Using cached python_dateutil-2.8.2-py2.py3-none-any.whl (247 kB)
Collecting numpy>=1.17.3
  Downloading numpy-1.21.5-cp39-cp39-win_amd64.whl (14.0 MB)
     |████████████████████████████████| 14.0 MB 504 kB/s
Collecting six>=1.5
  Using cached six-1.16.0-py2.py3-none-any.whl (11 kB)
Installing collected packages: six, pytz, python-dateutil, numpy, pandas
Successfully installed numpy-1.21.5 pandas-1.3.5 python-dateutil-2.8.2 pytz-2021.3 six-1.16.0
To find out which libraries are installed, execute pip list command:
(venv1) D:\My Projects\Project_1>pip list
Package         Version
--------------- -------
numpy           1.21.5
pandas          1.3.5
pip             21.1.1
python-dateutil 2.8.2
pytz            2021.3
setuptools      56.0.0
six             1.16.0
Other libraries are dependencies that must be installed for Pandas to work.
Making requirements.txt file
A requirements.txt file in Python is a sort of file that often includes information about all of the libraries, modules, and packages that are utilized when building a certain project. It also saves all files and packages on which the project depends or must run.
To create a requirements.txt file in your root directory, use the following command:
(venv1) D:\My Projects\Project_1>pip freeze > requirements.txtIf you ever want to create a virtual environment for your previously developed project, all you need to do is copy the requirements.txt file into the project folder and type the following command. This will install the exact version of libraries/dependencies specified in the requirements.txt file.
(venv1) D:\My Projects\Project_1>pip install -r requirements.txtDeactivating virtual environment
When you have completed your project and want to deactivate the virtual environment, type the following command in the command prompt:
(venv1) D:\My Projects\Project_1>venv1\Scripts\deactivate.batThis removes the virtual environment name before the prompt, which means it has deactivated the environment.
D:\My Projects\Project_1>Deleting/removing the virtual environment
If you want to remove the virtual environment and its directories, simply delete the venv1 folder or type the following command in the command prompt:
D:\My Projects\Project_1>rmdir venv1 /s
venv1, Are you sure (Y/N)? y
Working on Windows PowerShell
If you’re working with Windows PowerShell, substitute the .ps1 extension for the .bat extension. Additionally, if you cannot activate the virtual environment, you may need to run the following command for activation:
D:\My Projects\Project_1>Set-ExecutionPolicy -ExecutionPolicy RemoteSigned -Scope CurrentUseThis is the end of my article. Thanks for reading and if you like it, please share it with your friends and colleagues by clicking the LIKE button.
Twitter and LinkedIn are two places where you can connect with me.


